If you love baking wild fermentation sourdough, you’ll appreciate how every technique changes your results. Bakers across the world have discovered autolyse, a simple step with surprising effects on dough texture and flavor.
Baking wild sourdough is both an art and a science. The process brings together wild yeast and beneficial bacteria, fostering unique flavors and lasting crusts. Even tiny changes to your mixing routine, like adding an autolyse step, can transform your loaf.
This article explores how autolyse affects wild fermentation sourdough, what’s happening inside your dough on a chemical level, and how you can use these insights to bake bread with superior crumb and keeping quality.
Applying Autolyse to Wild Fermentation Sourdough for Noticeable Gluten and Texture Shifts
Wide adoption of autolyse in wild sourdough baking comes from the dramatic gluten development it encourages. By combining flour and water and letting them rest before adding salt and starter, the dough begins transforming entirely on its own.
Autolyse isn’t simply a pause — it’s an active period where flour hydrates deeply. Gluten networks form naturally and enzymes start their work, reshaping texture without aggressive kneading.
Enzyme Activity During the Rest — When Time Does the Mixing for You
Enzymes, especially amylase and protease, get busy during autolyse. Amylase breaks starches into simple sugars that wild yeast will feed on. Protease gently softens gluten chains, allowing easier stretch and improved extensibility later.
You can see the effects when your sourdough dough feels less sticky and stretches more easily after autolyse. This natural softening reduces the need for rough kneading, resulting in a lighter, airier crumb.
The process feels almost magical — just by waiting, enzymes and hydration do the heavy lifting. It turns your dough from tough and ragged to supple and elastic before you even work in the starter and salt.
Hydration and Flour Types — Adjusting for Different Wild Sourdough Recipes
Every wild fermentation recipe responds differently to autolyse, especially when using whole grain flours. Higher hydration helps whole grains soften fast, but you can shorten or lengthen autolyse depending on the flour’s thirst and the loaf you want.
Rye, spelt, and ancient grains react uniquely, sometimes needing gentler or briefer autolyse steps so their delicate gluten isn’t over-relaxed. Experiment with timing, watching how dough strength and extensibility change after each rest.
Jot down the hydration you use and autolyse time for each flour, noting the crumb, structure, and fermentation signs. These details guide future sourdoughs toward reliable, delicious results every time.
| Flour Type | Suggested Hydration | Autolyse Time Range | Key Takeaway |
|---|---|---|---|
| Bread Flour | 70-78% | 30-60 min | Yields open crumb when hydrated well and rested. |
| Whole Wheat | 80-90% | 20-40 min | Shorter autolyse avoids excess softening; high water improves grain absorption. |
| Spelt | 68-75% | 10-25 min | Short rest preserves mild gluten for open crumb. |
| Rye | 80-95% | 5-15 min | Brief autolyse prevents gummy texture; keep dough sticky but manageable. |
| Mix of Grains | 75-85% | 15-35 min | Balance rest to suit weakest gluten in blend. |
Combining Autolyse with Sourdough Fermentation for Peak Dough Strength and Flavor
Pairing autolyse with wild fermentation boosts dough extensibility and yields more nuanced flavors. Following a careful step sequence maximizes both gluten structure and wild sour flavor complexity.
Start by mixing flour and water only, allowing a rest, and then add your levain and salt. The autolyse primes the dough for robust fermentation, with wild yeast finding ready sugars and relaxed gluten when introduced.
Starter Integration After Autolyse
After the autolyse period, add your ripe sourdough starter and salt. The dough absorbs them rapidly due to loosened gluten, making mixing much easier and producing a consistent dough without clumps or dry spots.
- Mix gently and use a “stretch and fold” motion for incorporation, so you don’t compress the newly formed gluten strands.
- Observe dough smoothness; stop mixing as soon as everything comes together evenly.
- Notice if the dough feels relaxed yet strong—it should be soft and elastic, bouncing back lightly.
- If the dough tightens up too much, shorten future autolyse periods; if overly slack, lengthen the rest gently.
- Mark fermentation with a timer and visual cues, like a 30% increase in volume and visible bubbles on the side of the container.
Well-timed autolyse combined with lively starter consistently produces dough that rises higher, opens up the crumb, and boasts a deeper, tangier aroma in the finished wild fermentation sourdough.
Salt’s Role and Timing with Autolyse
Salt should be left out during autolyse, as it can tighten gluten and slow enzyme work. Add salt after autolyse together with your levain to allow maximal gluten relaxation and proper seasoning.
- Add salt evenly with the starter to prevent uneven fermentation “hot spots.”
- Knead gently, using “slap and fold” or “pinch and fold” techniques to work salt through without deflating the dough.
- Feel for graininess—the dough should smooth out as salt is fully absorbed.
- Smell for subtle sour and wheat aromas right after mixing; this signals balanced hydration and proper gluten formation.
- Rest dough before bulk fermentation so flavors meld and gluten stabilizes before wild yeast activity spikes.
This sequence prevents tough, tight crumb and supports optimal rise and oven spring for wild fermentation sourdough with striking flavor depth and a chewy, glossy crumb.
Autolyse Steps in a Wild Sourdough Bake: A Realistic Home Example
Seeing autolyse in practice cements the benefits. Here’s an easy, real-world wild fermentation sourdough baking session with concrete time markers and sensory feedback for each step.
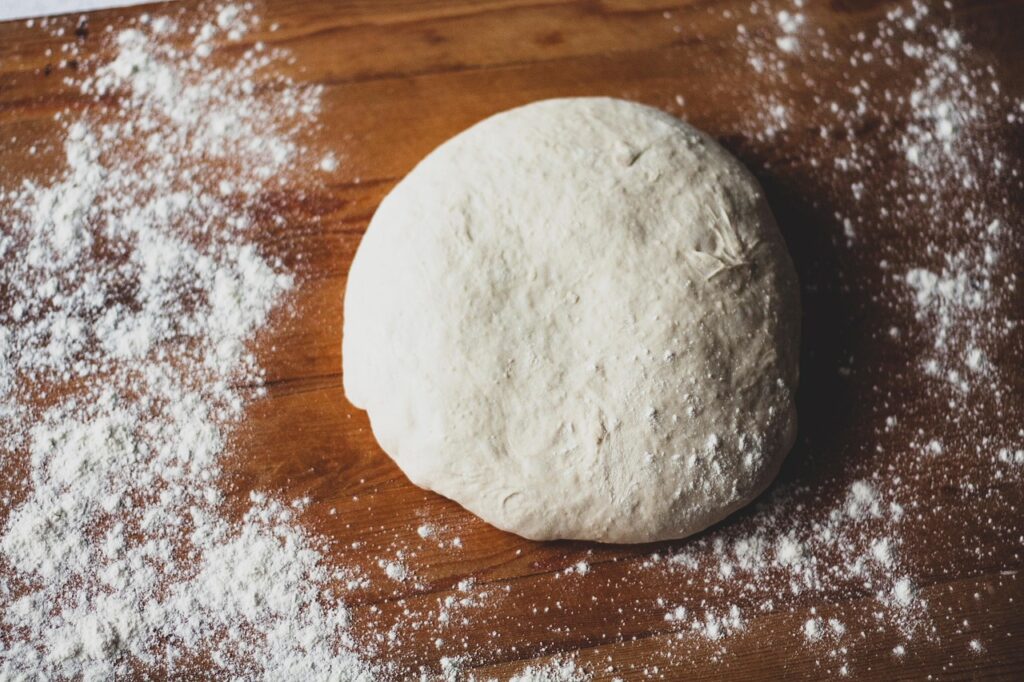
Start by weighing flour and water, mixing until no dry spots remain. Let the mixture rest, uncovered, for 35 minutes. Notice as the dough surface turns silky and glutenous even before adding starter.
Detecting Proper Dough Changes During Autolyse
The dough should go from clumpy to smooth and manageable. Use the tip of your finger—if it feels tacky rather than sticky, you’ve hit the sweet spot. Watch how it stretches; it should pull, rather than tear.
After resting, add starter and salt. The dough will fold easily over itself. Feel for a pronounced elasticity and assess how it pulls away from the bowl. This feedback directs your next batch’s timing for exact autolyse length.
If the dough seems heavy or tears instead of stretching, try increasing your hydration or giving it another short autolyse on your next attempt, adjusting rest time by increments of five minutes for future improvement.
Wild Fermentation Schedules with Autolyse Inline
For a typical home baker’s wild fermentation sourdough, mixing and autolyse in the evening allows baking next day. Mix flour and water after dinner, rest, then finish adding starter and salt before bedtime.
Next morning, bulk ferment the dough with lifts and turns, watching for visible bubbles along the sides. Shaping and proofing after lunch gives fully developed sour, open crumb by dinner. Repeat for consistent results in your kitchen rhythm.
Try a direct script: “Mix dough tonight, rest for 30-60 minutes, add starter and salt, let it ferment overnight, then shape and bake tomorrow” to fit autolyse into your typical workday bake.
Conclusion: Integrating Autolyse into Every Wild Sourdough Bake
Autolyse elevates wild fermentation sourdough by unlocking gluten’s potential and supporting enzymatic action naturally. By resting flour and water together, you lay the foundation for a lighter crumb without tough kneading or complicated steps.
The practice dovetails with wild yeast’s needs, making doughs more flexible, flavors more layered, and bakes more reliable batch to batch. Practical tweaks—hydration level, autolyse timing—let you tailor your sourdough process for your favorite loaf type every time.
Once you experience dough transforming after autolyse, you’ll feel empowered to experiment with new grains, fermentation schedules, and the wild yeast environment right in your own kitchen—one delicious, tangy crumb at a time.
Frequently Asked Questions
What is the best autolyse time for wild fermentation sourdough?
Autolyse should last 20–60 minutes for most wild sourdough recipes. Softer flours or higher hydration benefit from shorter times, while bread flour recipes can go longer. Monitor dough texture for ideal results.
Can I add the wild starter at the beginning of autolyse?
For wild fermentation sourdough, wait until after autolyse to introduce the starter. This ensures enzymes fully hydrate the flour and develop gluten, making future mixing and bulk fermentation more effective.
Does autolyse work with all grain types?
Nearly all flours benefit from autolyse, but each needs specific timing. Rye, spelt, and ancient grains generally require less time to avoid excess softening. Adjust hydration and rest periods to match your chosen blend.
What difference does autolyse make in wild fermentation sourdough flavor?
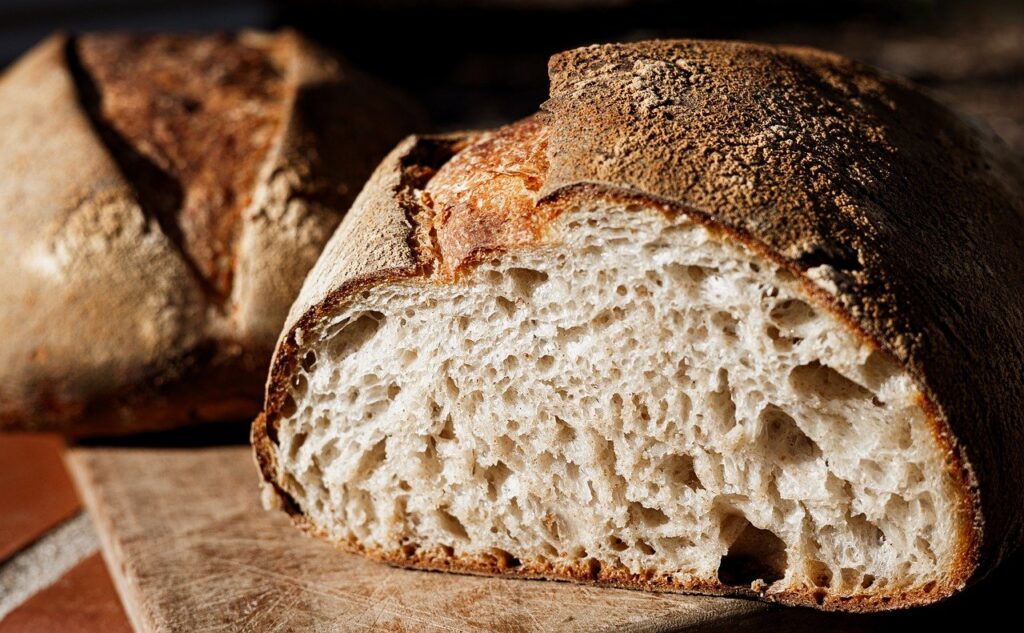
By encouraging enzyme action, autolyse increases sugar breakdown, feeding wild yeast and lactic bacteria. This results in a slightly sweeter, tangier crumb and improved aroma. Texture also improves, giving open, glossy holes typical of artisanal sourdough.
Do I have to use autolyse every time?
No, but regular use quickly reveals its advantages for wild sourdough: easier mixing, faster gluten development, and enhanced flavors. Try it for a few bakes and track your satisfaction with crumb and rise for comparison.