Hauling your wild fermentation starter across a city or on a scenic road trip used to mean boring bread or missed chances. By organizing a portable sourdough setup, you leap every travel baking hurdle—no kitchen left behind.
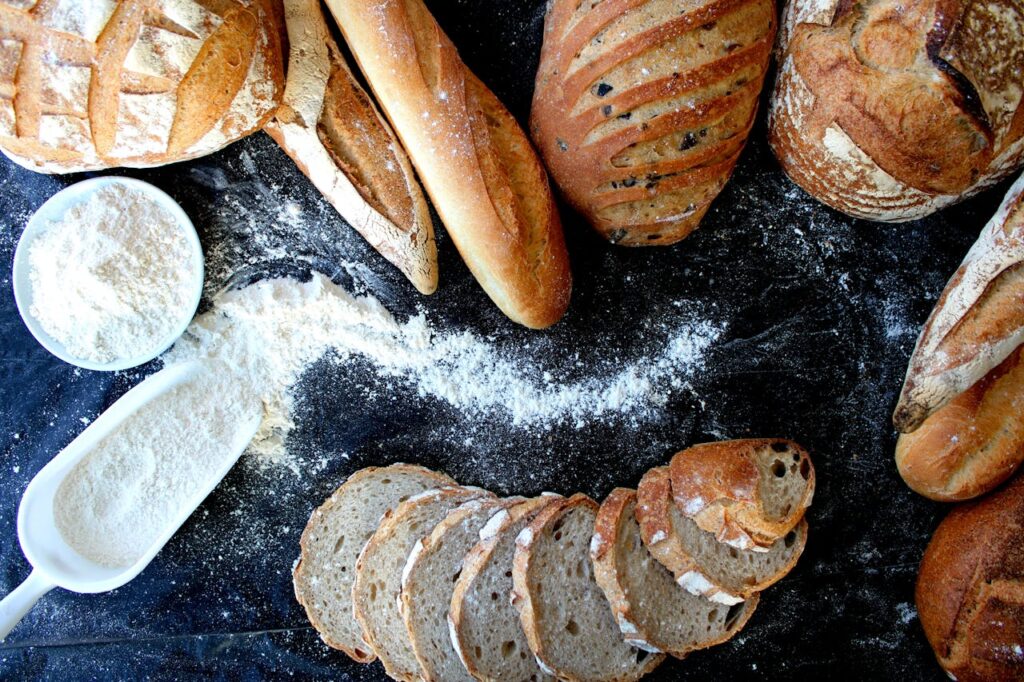
Curiosity keeps sleep at bay when imagining what fresh bread could taste like in a new cabin or sunlit Airbnb. Wild fermentation turns any destination into a tasting ground. It’s the traveler’s rite for memorable meals.
If wrangling your wild starter and tools feels like herding flour dust, this guide breaks it down. Every section offers seasoned travel bakers’ systems. Explore new strategies—your portable sourdough setup awaits.
Essentials to Pack for a Complete Wild Fermentation Experience Every Trip
You’ll never scramble for missing gear again by checking off these essentials before zipping your bag. Your entire portable sourdough setup fits neatly, reclaiming your kitchen confidence anywhere you land.
Whether aiming to impress friends with crusty loaves or maintain your starter’s vigor, these non-negotiables keep you ready. Think of your kit as a traveling wild fermentation lab—each tool curated with purpose.
Foundation Tools to Build Your Base
Pack a starter jar with a secure lid that won’t leak mid-flight. Choose a flexible silicone spatula to scrape every bit of dough cleanly without damaging containers or crowding limited travel space.
Tuck a compact digital scale, essential for hydration precision wherever you measure. A small plastic dough scraper helps you work tidily and efficiently from hotel counter to park bench.
Bring a linen cloth for covering dough during bulk fermentation. It serves as a multipurpose wrap, proof cover, and clean-up cloth—all within your portable sourdough setup.
Starter Storage and Transport
Use a clear glass jar for checking your wild fermentation’s bubbles without opening the lid. Screw lids tight, loosen slightly in transit so pressure escapes without spills.
For longer travel, include a backup dried starter folded into parchment—for easy revival if your liquid starter faces mishaps. Keep a mini spoon clipped to your jar for easy feedings away from home.
Analogy: Treat your starter like a travel pet—regular feeds, secure lodging, and familiar routines. Place your jar upright in a soft lunch bag to prevent breakage and thermal shock.
| Item | Purpose | Packing Tip | What To Do Next |
|---|---|---|---|
| Starter Jar | Keep fermentation healthy | Choose leakproof, glass preferred | Test with water before traveling |
| Digital Scale | Accurate dough hydration | Pocket-sized, battery included | Weigh dry and liquid ingredients before packing |
| Flexible Spatula | Dough handling, jar scraping | Look for silicone, compact length | Make sure it fits travel containers |
| Banneton or Small Bowl | Proofing support | Nesting design saves space | Line with a towel if bringing banneton is tricky |
| Plastic Dough Scraper | Clean workspace, divide dough | Thin, lightweight, flat | Stash one in every bag you use |
Ingredient Planning Strategies Before Leaving Home Base
Never run out of what you need by prepping ingredients intentionally. The right portable sourdough setup includes efficient ingredient transport and planning, so your bakes shine wherever you set up shop.
Proper ingredient planning avoids searching store shelves for unfamiliar flours or relying on unpredictable tap water. With a few tricks, you prepare for success every time—no matter the local resources.
Smart Packing for Flour and Salt
Measure each type of flour for your expected recipes at home. Use resealable bags or small jars, label by weight and kind. Add a pinch of salt to small labeled containers for consistent results.
- Pre-measure bags of bread flour to batch size—avoid bulk, travel light.
- Label each bag with hydration ratio to streamline mixing in unfamiliar kitchens.
- Pack a small squeeze bottle of filtered water to feed your starter or temper dry dough.
- Bring instant or kosher salt in spill-proof containers for accurate flavor, pre-weighed per recipe.
- If baking with seeds or inclusions, package those in mini tubs to keep them fresh.
Routinely double-check your ingredient bags against your portable sourdough setup checklist. This routine prevents last-minute dashes or improvising with unknown supermarket ingredients far from home.
Planning for Wet Ingredients
Store filtered water in a sturdy bottle, always taste it before use in wild fermentation. Some places have highly chlorinated tap water—always check and carry enough for two to three feeds.
- Carry baker’s yeast packets for backup, though standard wild fermentation doesn’t need them. For emergencies, it’s peace of mind.
- Freeze a small bottle of filtered water to act as a cold pack and backup hydration, reducing risk of starter overheating.
- Use mini squeeze bottles for honey, oil, or other dough enrichments; label these clearly for TSA screening or road stops.
- If milk or eggs are part of your sourdough style, pack shelf-stable alternatives, so refrigeration gaps don’t foul your recipe.
- Choose travel-friendly, compact coolers or mini ice packs to store perishables during journeys.
Smooth journeys translate to happy dough. Organize wet and dry ingredients so even after a bumpy ride, your portable sourdough setup springs into action without a hitch.
Setting Up for Sourdough Success in Any Space or Situation
Travel bakers with a portable sourdough setup confidently turn hotel counters or campsite tables into temporary bakeries. Nail down your environment adaptations to keep wild fermentation flourishing regardless of location quirks.
Following actionable routines ensures your workflow adapts, not just your recipe. Each environment presents its own temperature, counter height, or proofing spot challenges, so anticipate with versatile steps.
Counter Selection and Cleanliness
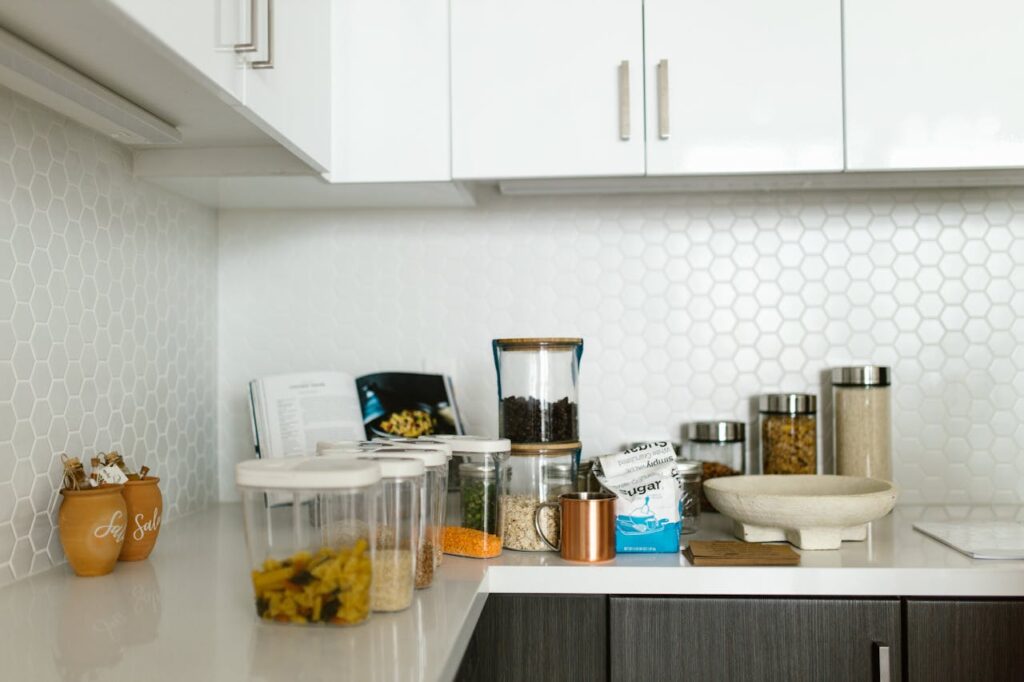
Scout for a clean, flat space at arrival—a kitchen counter, windowsill, or sturdy table. Wipe down with a damp cloth and use your own liner or towel for a clean fermentation area.
Line up your essentials: starter, flour, water, and scale. Keeping everything in arm’s reach mimics your home kitchen flow, boosting confidence even as a guest in unfamiliar territory.
Post-bake, always clean immediately. Minimize dough crusting on tools and surfaces, restoring your setup for tomorrow’s round. This routine preserves your portable sourdough setup’s reliability day after day.
Temperature Control Strategies
Travel means wild swings in room temperature. Use your own digital thermometer to check dough temperature and ambient heat, crucial for wild fermentation’s success outside your home routine.
If it’s cool, wrap your proofing bowl in a towel near a vent or sunny window. If heat spikes, relocate to shade, or try a cooler box with the lid propped for gentle airflow.
Use your own hands as sensors—dough should always feel slightly cooler than your palm at bulk start. If not, cool it ahead or proof more slowly for flavor depth.
Maintaining Starter Health on the Move with Proven Routines
Keep your wild sourdough starter vigorous and ready for great bread even when changing locations. A portable sourdough setup relies on routines for minimal disruption and maximal microbial health.
Sustain consistent feeding cycles by setting smartphone reminders or notching a travel journal. These anchors support wild fermentation regardless of new time zones or activity schedules.
Daily Feeding System
Every morning, feed your starter with equal parts flour and water by weight, using your digital scale. Keep portions small unless planning a big bake—that saves flour and keeps the jar neat.
Observe your starter closely for bubbles, aroma, and volume rise. If it sours excessively or stalls, dilute with a greater water ratio or increase feed frequency. Trust sensory cues over clock time on the road.
Repeat evening check-ins—smell, stir, and use the spatula. Wild fermentation hinges on regular, gentle inputs, even as everything else changes around you.
Coping with Travel Disruptions
If a journey delays feeding, refrigerate your starter or switch to twice-daily micro-feeds. Tiny, regular refreshments keep yeast and bacteria in harmony despite erratic movement or temperature spikes.
Always avoid direct sunlight or trunk storage—insulate starter with cloth or a cooler bag. Analogous to a travel mug for hot coffee, aim to keep your portable sourdough setup insulated from extremes.
When you return to a stable kitchen, refresh starter with a larger feed and a gentle sit at room temp, monitoring closely for full recovery before your next bake.
Streamlined Mixing and Shaping Tactics During Journeys
Efficiency shines once you master on-the-go mixing routines with your portable sourdough setup. Adapt dough handling to fit tight spaces without sacrificing fermentation quality or shaping precision.
Plan your mixing either in your proofing bowl or a wide-mouth bag to combine flour, water, and starter efficiently. These tactics avoid unnecessary mess and speed clean-up, perfect for borrowed kitchens.
Travel-Friendly Mixing Order
Start with flour and water to autolyse, mixing by hand or spatula for five minutes. Then introduce starter, folding gently for even distribution without over-mixing, mimicking what you’d do at home in simple steps.
Use the dough scraper as an extension of your hand—it allows efficient folding, even in shallow pans or bowls, before you cleanly divide and pre-shape dough ahead of final proof.
Rest dough under a damp cloth (or shower cap) during bulk ferment, turning every 30 minutes with floured hands. This simulates home technique in new surroundings while keeping hydration steady.
Adaptive Shaping and Proofing
Compact bannetons nest inside one another in your portable sourdough setup or can be swapped for a cloth-lined mixing bowl. Shape with gentle tension, maintaining structure despite changing flour blends or humidity.
For loaf-proofing on the road, use a clean kitchen towel dusted with flour, keeping dough supple and easy to transfer for baking. Adjust proofing times—remember wild fermentation reacts to new conditions.
Transport shaped loaves using parchment sling—handy for both proofing and direct oven loading. Always plan for ambient variability and trust your portable sourdough setup to keep things smooth.
Simplifying Baking and Cooling Without a Conventional Kitchen Oven
Improvising with available ovens or even open flames is a skill. Craft your portable sourdough setup to bake under any conditions, delivering flavorful, well-textured wild fermentation bread wherever you roam.
If your host’s oven lacks steam, use a Dutch oven or heavy-lidded pot for maximum crust. This shields dough and traps moisture, ensuring a rustic, caramelized finish even in rental kitchens.
Alternative Baking Vessels
If you forgot your Dutch oven, invert a metal bowl atop your loaf for initial bake. This tricks the oven into steam baking, preserving expansion while crust forms, a field-tested bread hack for travel bakers.
Use baking stones where available, preheating thoroughly before sliding loaves on parchment for consistent bottom browning. Carry oven mitts or thick cloths to fetch hot vessels safely in any unfamiliar kitchen.
After baking, immediately shift loaves to a wire rack or a cool, clean stovetop. Proper cooling sets crumb structure, avoiding gumminess under pressure from eager travel partners hoping for a quick slice.
Frequently Asked Questions
How do I revive a neglected starter after long travel?
Feed with small, regular doses of flour and water at room temperature. Stir often, discard half for a day or two, and watch for bubbles. Reactivate gradually before baking, giving your wild fermentation culture gentle support to restore energy.
Can I take my sourdough starter on an airplane?
Pack in a clear container less than 3.4 ounces for hand-luggage. Alert security if questioned—it’s natural wild fermentation culture, non-hazardous. Carry a dried starter backup for longer flights or possible delays, staying ready for bread anywhere you arrive.
What if the local flour is very different from mine?
Adjust hydration gradually. New flours may soak up more or less water; start lower and increase as needed. Embrace local flavors but trial-bake mini loaves before the main event for your best travel results with a portable sourdough setup.
How do I avoid forgotten items when packing my sourdough gear?
Keep a checklist tailored for travel bakes. Lay everything out before packing and double-check your portable sourdough setup kit as you zip your bag. Extra spatula, jar, and towel mean backups are on hand for accidental losses.
Can I wild-ferment bread in a hotel with no kitchen?
Yes, use a microwave for proofing warmth, mix in your travel bowl, and ask staff if you can use the oven or borrow kitchen space at off-hours. Adapt routines for each new space—wild fermentation thrives on routine and observation, wherever you find yourself.