The joy of shaping wild fermentation sourdough grows with each well-cared-for banneton. Cleaning banneton isn’t just about hygiene, but also about nurturing better bakes, loaf after loaf. Think of it as maintaining your favorite garden tool—cleaning ensures lasting performance.
When you commit to proper cleaning banneton routines, you help your dough retain the precise structure and rustic finish that make homemade sourdough special. It’s a small habit with a big impact on every bake you pull from the oven.
This guide breaks down exactly what to do, what not to do, and how every action improves your wild fermentation sourdough experience. Let’s explore the art of cleaning banneton to keep bread baking satisfying and stress-free.
Implementing an Effective Cleaning Banneton Routine from Day One
Start by making cleaning banneton part of your sourdough ritual. Consistent care builds confidence and prevents dough or flour residue from grabbing hold over time. This section offers actionable steps and scenarios to set the right foundation.
Commit to gentle, regular maintenance, and your banneton will stay in top form for years. Below, you’ll find essential cleaning banneton techniques, sample day-to-day checklists, and troubleshooting advice for trickier situations.
Assessing Post-Bake Benchmarks
After each bake, check your banneton’s liner and wicker for clingy bits of dough. A baker might glance at the ridges, noticing flour traces stuck tight—this is the moment to act, not to postpone.
Gently tapping the banneton upside down over your sink removes loose flour. For stuck dough, run a dry, stiff brush along the grain. You maintain integrity while knocking out hidden debris.
Resist the urge to use water unless absolutely necessary. Excess moisture shortens banneton life by encouraging mold growth, so only introduce water in worst-case scenarios.
Establishing Your Weekly Deep-Clean Habit
Set one day a week—like Sunday morning—to thoroughly check for built-up grime. In a busy schedule, it’s easy to skip, but intentional planning makes cleaning banneton routine.
Hold your banneton up to bright light. Crumbs or patches in the crevices signal where to focus. Use a dry pastry brush or, for liners, shake them outside and brush them too.
Consistent, mindful attention keeps flour, moisture, and wild yeast from accumulating, protecting both banneton integrity and tomorrow’s wild fermentation sourdough flavor.
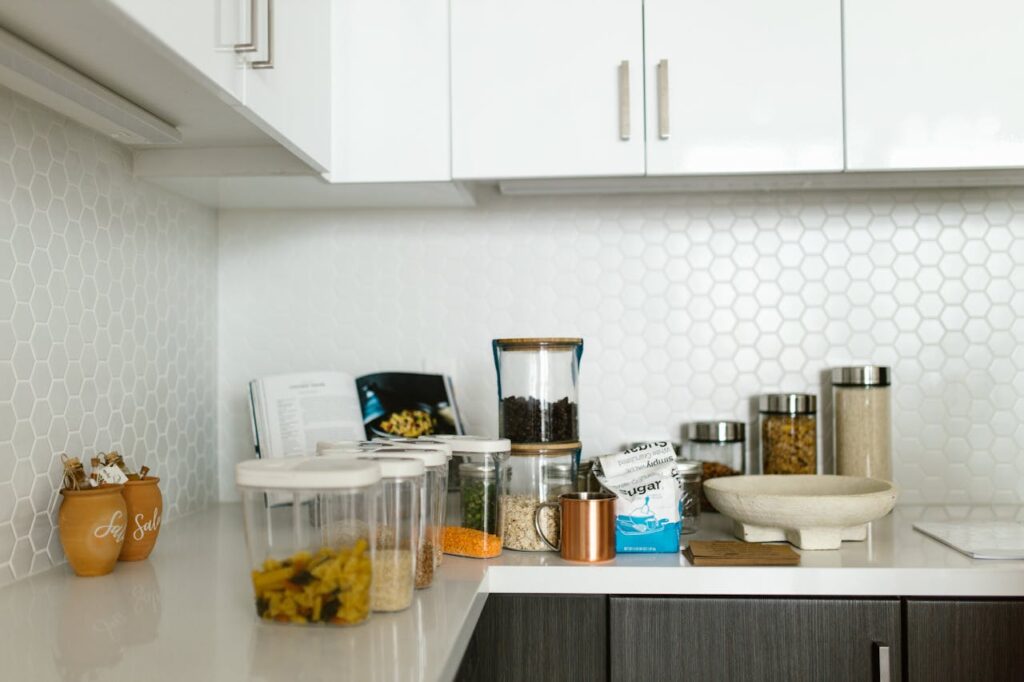
| Cleaning Tool | Method | Frequency | Takeaway |
|---|---|---|---|
| Dry pastry brush | Dust flour, loosen crumbs | After each use | Preserves shape and texture |
| Stiff nylon brush | Dislodge stubborn debris | Weekly | Restores freshness to ridges |
| Hand tap | Invert and knock loose particles | After each bake | Keeps mold at bay |
| Spot-clean with damp cloth | Lightly wipe, air-dry | As needed | Removes sticky spots—dry thoroughly |
| Vacuum with small attachment | Suck fine flour dust | Monthly or less | Optional, makes deep cleans swift |
Addressing Sticky Dough and Stubborn Residue Like a Pro
Cleaning banneton gets trickier when sticky dough finds its way into nooks and crannies. Treat each mess as a learning moment—this section will show hands-on ways to tackle them efficiently.
Allow any stuck dough to fully dry before gentle removal. Rushing risks damaging the fibers or fabric. With patience, your banneton recovers from nearly any mishap, ready for your next wild fermentation sourdough adventure.
Dealing with Stuck-on Dough
If you notice dried-out dough in the banneton, wait until it hardens. Flake it off carefully with a dry brush, avoiding sharp objects. Persistent spots may yield to a stiff nylon brush, used gently in circular motions.
- Brush away dried dough bits—restores texture, prevents buildup.
- Tap the banneton upside down—dislodges loose flour around stuck pieces.
- Resist soaking—water worsens mold risk and weakens material.
- Air-dry thoroughly after cleaning—removes any lingering moisture.
- Repeat delicate steps instead of applying force—prolongs lifespan.
Following these steps, you keep your banneton’s performance consistent for every loaf. A little extra care now means cleaner, tastier bakes for weeks ahead.
Restoring Liners to Peak Condition
Liner maintenance helps with both hygiene and dough release. If flour or dough builds up, clap and shake the fabric outside, then brush with a stiff pastry brush. Spot-clean troublesome stains with a barely damp cloth, then dry fully before next use.
- Remove liner after each use—prevents caked-on residue.
- Brush off excess flour—avoids starch hardening in fibers.
- Hang dry in sunlight safely—natural airflow inhibits mildew.
- Spot-wash by hand, not machine—machine wash weakens fabric over time.
- Inspect for wear or holes—swap out liners showing thinning or tearing.
Frequent liner checks and gentle cleaning banneton methods let you choose when to replace, not react when a problem appears unexpectedly.
Tackling Mold and Odors Without Chemicals
If mold or odors surface in your banneton, don’t panic. It’s common in wild fermentation sourdough, especially in humid kitchens. This section explains exactly what to do—safely and naturally—so you can continue baking confidently.
First, place your banneton in direct sunlight for several hours. Sunlight’s UV helps deter mold, and fresh air reduces lingering odors. Pair this with targeted brushing to accelerate results.
Preventative Airflow Practices
After cleaning banneton, store it in a spot with good airflow. Avoid sealed containers or plastic bags. Air movement dries leftover moisture, denying mold the damp conditions it craves.
A baker once hung their banneton on a peg under an open kitchen window: “It keeps it bone dry—no musty hints, even in summer.” Try this approach to extend your banneton’s clean, earthy scent.
If you live in a damp climate, consider running a dehumidifier in your kitchen. You’ll safeguard your banneton while keeping starter jars and flour drier too.
Safe Heat Treatments for Troublesome Cases
Heat is another friend when cleaning banneton. Warm your oven to its lowest setting, switch off, and place the empty banneton inside until cool. This dries it completely and discourages mold.
Set a timer for no more than 30 minutes; excessive heat can warp wood or split cane fibers. Only use this method as needed, then resume routine air-drying for everyday care.
Thermal treatment mimics the simple, natural drying strategies bakers used long before synthetic cleaners—a nod to tradition with a modern benefit.
Storing Bannetons Correctly to Prevent Common Problems
Proper storage plays a big role in keeping your cleaning banneton work effective. When not in use, store bannetons in a cool, ventilated area—not a closed cabinet or drawer where moisture can collect.
Encourage family or roommates to never set damp towels or pans on or near a banneton. Even brief contact with moisture can undo careful cleaning work.
Smart Placement Choices for Longevity
Set aside a specific spot, like a wall hook or deep shelf far from the oven’s steamy heat. Banneton shape stays crisp when air circulates on all sides. A cardboard box with holes can serve as a quick DIY storage upgrade.
Some bakers keep bannetons inside brown paper bags with a loose opening. This allows air exchange while keeping dust away. Write “clean” or “ready” on the bag to cue your next use—a simple move to minimize confusion mid-bake.
Plan storage so you can always spot-check the banneton before dough enters. Visible, accessible storage supports consistent cleaning banneton routines without shortcuts.
Rotating Banneton Use for Consistent Quality
Treat your set of bannetons like a chef’s knives—rotate their use to extend each one’s life. If you bake frequently, alternate bannetons so none bear repeated moisture cycles alone.
Label each banneton or assign them by dough type, such as wheat, rye, or specialty blends. This helps contain flour residue, streamlines cleaning banneton processes, and ensures each basket ages at an even pace.
Rotating baskets becomes a ritual: “This one did last week’s levain; let’s switch it up for tomorrow’s high-hydration mix.” It’s another method to keep your baking and cleaning banneton habits smooth and sustainable.
Optimizing Your Banneton for Wild Fermentation Sourdough Success
Consistent cleaning banneton routines create ideal conditions for dough proofing. The relationship between a banneton’s cleanliness and wild fermentation sourdough is direct—the fewer contaminants, the more reliable structure and flavor you achieve.
Flour left unbrushed over time can harbor wild yeast, but also unwanted bacteria. Cleaning banneton after each bake preserves only those cultures you invite, not random kitchen guests.
Timing Your Clean for Busy Baking Schedules
When juggling batches, align cleaning banneton steps with kitchen downtime. Brush, tap, or air-dry while your next dough ferments or the oven preheats. This builds care into your rhythm, not as an afterthought.
Batching these habits—for example, prepping two bannetons for separate doughs—gives you a clean slate every bake. It’s less mental clutter, more enjoyable results.
Some bakers clean banneton as soon as dough enters the oven, using the empty moments before cleaning mixing bowls—a tiny, powerful routine you can adopt with ease.
Adapting Habits to Seasonal Changes
Seasonal humidity, household traffic, and kitchen routines influence how you maintain your banneton. In summer, you might spot-clean more. During dry winter spells, air-drying happens quickly. Noticing subtle shifts lets you tweak cleanup without missing a beat.
Spring’s pollen or autumn’s increased baking calls for extra vigilance. Have spare brushes and paper bags ready for those busy times. Each adjustment makes cleaning banneton feel seamless instead of burdensome.
Read your kitchen’s clues—a sudden musty whiff or sticky patch signals it’s time for a thorough clean, no matter the season.
Actionable Tips for Maintaining Banneton Quality Long-Term
To keep your banneton dependable, develop small behaviors that add up over months. Below are concrete examples and lists you can use today, plus a table showing cleaning banneton tools and their ideal uses.
If your banneton looks worn, consider its care lifecycle similar to rotating running shoes after heavy use. Small investments in time lead to loaves you’re proud to share.
Quick Daily Checklist
Swipe out loose flour—keeps crevices clear, maintains springy crust.
Brush liner or basket—removes wild fermentation residue for better rise.
Let dry fully—prevents signs of mold or odor before storing again.
- Use natural sunlight for periodic deep drying—UV helps neutralize spores and keeps scents fresh.
- Have a second banneton on standby—rotating use lets each recover between bakes.
- Store away from humidity—lowers risk of mildew from stray steam or spills.
- Keep a set of brushes handy—assign one for dough, another for flour cleaning banneton.
- Label your bannetons—track usage, identify those due for extra attention.
Final Thoughts on Sustaining Your Banneton for the Future
Cleaning banneton isn’t about perfection—it’s about simple habits and attentiveness. Each brush and tap helps every wild fermentation sourdough reach its tasteful potential and prolongs the life of your baking gear.
As your cleaning banneton routine matures, you’ll notice stronger crusts, better shapes, and more confidence choosing new recipes. Good care speeds up your learning curve as a home baker, saving you frustration later on.
The best wild fermentation sourdough bakes come from collaboration between baker and tools. Think of your banneton as a trusted partner—look after it thoughtfully, and it will return the favor loaf after loaf.
Frequently Asked Questions
How frequently should I perform a deep cleaning banneton session?
For typical home bakers, a weekly deep cleaning is sufficient. If you bake frequently or notice heavy residue, increase to twice a week. Adjust based on visible buildup or changes in odor—flexibility ensures your banneton stays dependable.
Is it safe to rinse my banneton with water after proofing sticky dough?
Rinsing banneton with water isn’t recommended due to mold risk. If necessary, use a barely damp cloth for spot cleaning, and air-dry completely in sunlight afterward. Reserve water cleaning for severe cases only.
What’s the best way to handle mold in a banneton?
If you see mold, brush the affected area thoroughly outside. Place the empty banneton in direct sunlight for several hours to naturally disinfect. If odor persists, use low, dry oven heat before returning to daily care routines.
Can I put my banneton liner in the washing machine?
It’s best to hand-wash liners with a mild detergent and air dry. Machine washing speeds up fiber breakdown and reduces lifespan. Always dry liners fully before reassembling to prevent mold between uses.
Why does cleaning banneton matter for wild fermentation sourdough?
Wild fermentation sourdough relies on balanced microbial activity, which a clean banneton supports by deterring off-flavors, mold, or unwanted bacteria. Well-cared-for bannetons provide the ideal foundation for both rustic appearance and consistent results.