Pulling open an oven to reveal a perfectly blistered sourdough loaf is endlessly satisfying. When a bread cloche enters the picture, those results get a real boost. The experience shifts, making each wild fermentation sourdough bake feel both approachable and impressive.
Baking with wild fermentation sourdough celebrates patience, practice, and that moment of transformation in the oven. The bread cloche, a tool shaped by centuries of baking tradition, reliably enhances these outcomes by controlling steam and heat like little else.
This article explores how a bread cloche helps both new and seasoned bakers achieve noticeably professional sourdough loaves at home. You’ll discover the most useful techniques, real-world troubleshooting, and simple steps that instantly improve your results.
Precision Steam and Crust: What a Bread Cloche Does for Wild Fermentation
Every time you bake with a bread cloche, the results speak for themselves. A well-fermented wild dough springs dramatically beneath the domed lid, surrounded by retained moisture and perfectly radiant heat.
Your sourdough’s structure undergoes transformation inside the cloche. Instead of releasing steam too soon, the enclosed environment mimics the conditions of a professional deck oven—promoting optimal oven spring and that famed crispy, caramelized crust.
Matching Dough Hydration and Cloche Effects
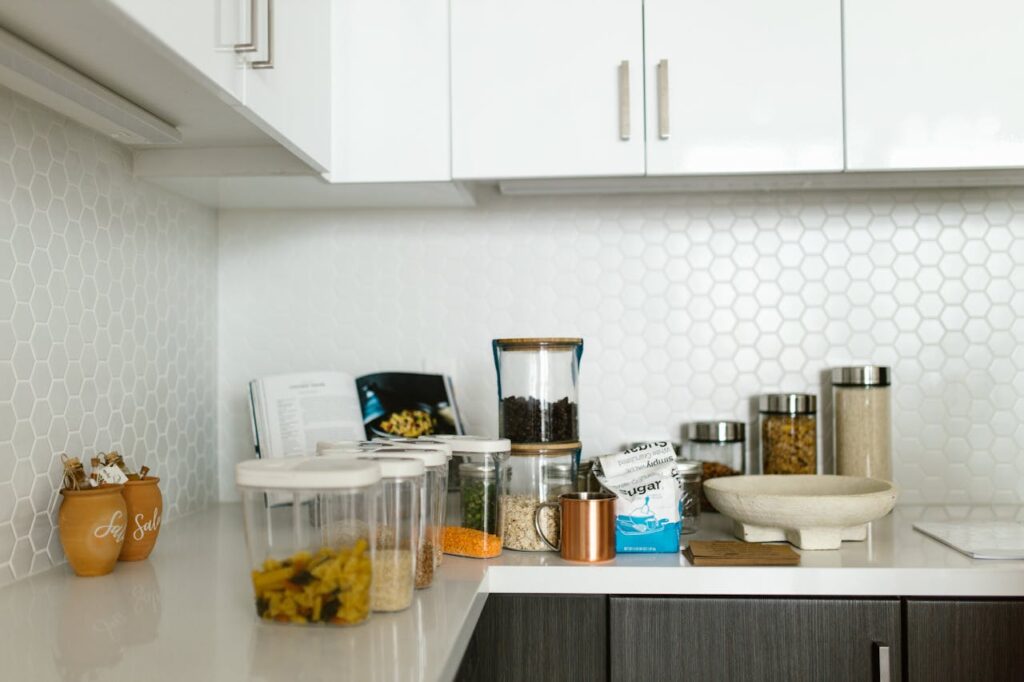
Dough consistency deserves attention, especially when using a bread cloche for wild fermentation sourdough. High-hydration doughs, typically 75–80% water, benefit noticeably, as the sealed dome traps steam and delays crust-setting.
For lower-hydration doughs, the cloche’s humidity boost may even out the crust, preventing overdrying. As you experiment, note these shifts during shaping or scoring. If dough feels sticky or slack, gently dust with rice flour before placing in the cloche.
Many bakers discover their best crumb and crust when adjusting hydration to suit a cloche, finding the balance between airy, open holes and sturdy, audibly crisp edges. Start by noting your dough’s texture before and after baking.
Timing Wild Fermentation and Oven Preheat
Time management before baking shapes the loaf’s flavor and texture. With wild fermentation, plan for 4–5 hours at room temperature, with possible overnight proofing for deeper flavor. By the end, a lively, domed dough signals readiness.
Preheating the bread cloche alongside the oven is crucial. Treat the preheat as non-negotiable: a minimum of 45 minutes at 475°F ensures the dome is saturated with heat, contributing to bold oven spring and even results.
While the dough ferments, use this window to score, transfer, and prep parchment. Experienced bakers watch for a slight jiggle in the dough and a light, airy feel before loading into the cloche’s hot base.
| Feature | Bread Cloche | Open Stone | Takeaway: When to Use |
|---|---|---|---|
| Steam Retention | Excellent—enclosed lid | Requires added steam | Choose cloche for open crumb, shiny crust |
| Oven Spring | Maximized by humidity | Can be less dramatic | Use cloche for high spring and expansion |
| Crust Texture | Consistently crisp | Varies, may dry out edges | Cloche ideal for thin, crackly crusts |
| Temperature Stability | Retains, moderates heat | Rapid temperature shifts | Prefer cloche for consistent bakes |
| Ease of Use | Simple transfer, less fuss | Needs more hands-on steam | Cloche suited to beginners and pros alike |
Efficient Shaping and Scoring Techniques Inside Your Cloche
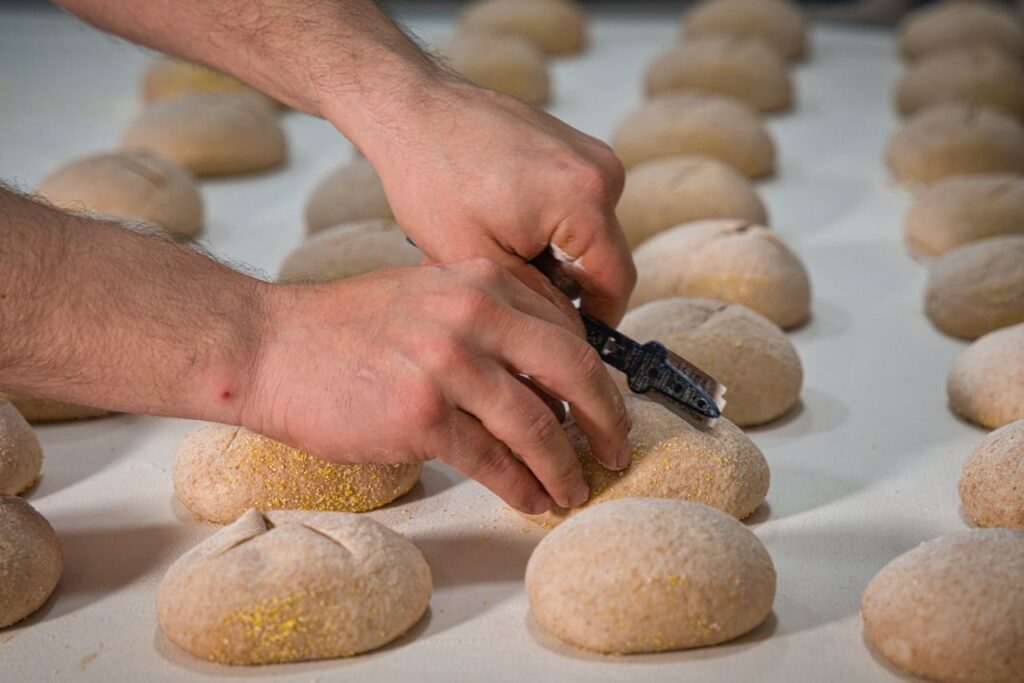
Working efficiently from proofing basket to bread cloche reduces sticking, deflation, and awkward transfers. Aim to score and shape in a single fluid sequence, using parchment as a sling when necessary.
Placing your wild fermentation sourdough onto parchment lets you keep both structure and score lines intact. The parchment slides into the cloche base with minimal disturbance, capturing every bubble and arch from your final rise.
Finding Your Signature Score
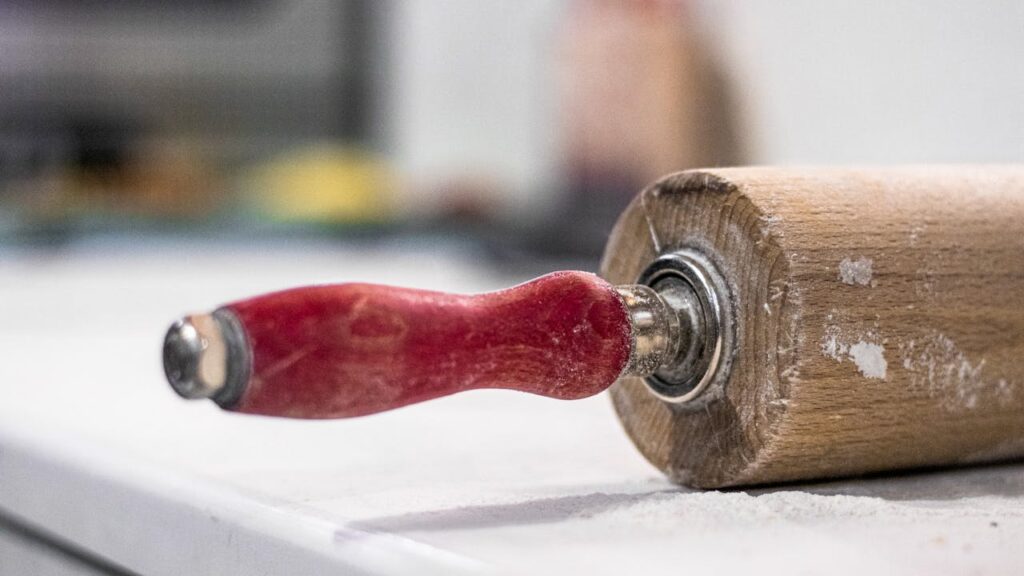
Simple, deep scores offer best results in a bread cloche. For classic sourdough ears or simple slashes, use a swift, confident hand and a razor-sharp lame. Cut at 45 degrees for the crispiest ear lift.
- Practice your scoring style before baking to build muscle memory and avoid stalling at game time.
- Commit to your line with each slash—hesitation compresses dough and limits bloom in the cloche.
- Cut toward you, aiming for 1/4-inch depth for a strong ear or shallow decorative marks for a lacy crust.
- Score immediately before baking so wild fermentation gases stay trapped until the cloche dome goes on.
- After a few tries, photograph your work so you can refine scoring styles and track dough response over time.
Dialing in your wild fermentation proofing schedule will make scoring feel less stressful and more intuitive with practice.
Checklist: Prepping Your Bread Cloche Bake
Follow a quick checklist before each bake for smoother wild fermentation sourdough results.
- Preheat both cloche and oven for at least 45 minutes so heat and moisture distribution is even.
- Score your dough just before loading to retain gas and promote dramatic oven spring in the cloche.
- Use parchment or a lightly floured peel for quick, clean transfer into the cloche base, reducing risk of sticking.
- Immediately cover with the cloche dome after placing dough for maximum steam entrapment.
- Set a timer for the lid-off phase if your cloche design supports it, so you finish with a caramelized, golden crust.
This ritual quickly becomes second nature—and the results are worth every step. Consistency leads to confidence for each wild fermentation bake.
Consistency in Wild Fermentation: Small Tweaks for Reliable Results
Getting repeatable results with wild fermentation sourdough comes from small, perceptible tweaks. The bread cloche rewards a short, methodical routine—same preheat time, consistent scoring, identical transfer every bake.
If your loaves slump or stick in the cloche, modify hydration by 2–3% up or down, or chill the dough for 30 minutes before scoring. These basic changes steady your baking rhythm.
Savoring the Learning Process
Baking wild fermentation sourdough in a bread cloche is an invitation to experiment, not just chase perfection. Most bakers remark, “That loaf looked wild, but the flavor was spectacular!” Exact looks become less critical than taste over time.
Start paying attention to how your dough feels each step—from mixing, to tension during shaping, to the jiggle before scoring. Trust these cues: hands, eyes, and even your nose. Soon, you’ll translate touch into confident baking.
Celebrate little improvements—one loaf with a slightly crisper crust or more distinct ear. Record tweaks in a notebook or phone app to spot patterns, even if tiny. Learning through wild fermentation sourdough takes time, and the bread cloche amplifies growth with each repetition.
What to Do with Mistakes
Embrace mishaps as practical lessons. If your dough sticks, next bake, flour or rice-dust your cloche more generously. A burnt base means reduce oven floor temp or raise your rack one level next time.
If loaves emerge too pale, increase lid-off time by 3-4 minutes at the end. Sometimes wild fermentation will force splits where you didn’t score—next time, deepen old cuts or find a new angle for your slash.
Change one thing per bake, not three. Little adjustments build your confidence using a bread cloche, especially for wild fermentation sourdough that changes with temperature, starter, and season.
Choosing, Seasoning, and Cleaning Your Bread Cloche for Lifelong Results
The right bread cloche fits your oven and your loaf. Evaluate ceramic, clay, and cast iron domes for how they trap heat and moisture—some feel heavier, others offer natural nonstick after seasoning.
For wild fermentation sourdough, avoid glazed interiors that block humidity transfer. Natural surfaces allow steam to condense and reabsorb, strengthening dough expansion during those first critical minutes.
Seasoning for Nonstick Performance
Clay or cast iron cloches benefit from an initial seasoning cycle. Rub a thin layer of neutral oil on the base and lid, then bake empty at 425°F for an hour. Let cool, then gently wipe away any residue before using.
Each time you bake, the cloche builds a patina—think of it like a sourdough starter: more use means better release and gentle caramelization. After 5–6 bakes, most cloches easily release bread without added parchment.
If you notice sticky patches or residue, re-season every few months. Avoid soap—a quick rinse and clean cloth dry suffice. Keep your bread cloche dry and stored with the lid off to ensure breathability.
Cleaning without Damaging Your Cloche
Never soak unfired cloches in water, as clay absorbs moisture. After cooling, gently scrape off any baked bits with a wooden spatula. For stubborn flour, use a stiff brush rather than metal tools.
For stubborn stains, bake empty at 400°F for one hour, then wipe with a barely damp towel. Burning off residue works like a self-clean cycle—avoiding all detergents preserves natural texture for wild fermentation bakes.
Always let your bread cloche cool completely before cleaning. Quick cooling may cause cracks or warping. With steady attention, your cloche will become a lifelong sourdough ally, growing better with use and care.
Visual Cues and Timing for Perfect Sourdough in the Cloche
Look for expanded volume, deep caramel color, and hollow sound as signs wild fermentation sourdough is ready in the cloche. Allow for an extra 3–5 minutes of uncovered baking for blistered crust.
When lifting the dome, expect a gust of fragrant steam and darkening crust. Color can go from golden to mahogany quickly—keep your timing consistent, and note the point where your oven and cloche deliver your preferred result.
Managing Acidity and Open Crumb
Using a bread cloche intensifies wild fermentation flavors. Extend bulk ferment for more tang, or chill dough overnight for even more complex notes. Remember, shorter rise equals subtler sourness, which some prefer.
For maximum open crumb, avoid degassing too aggressively after bulk fermentation. Keep the shaping gentle, allowing gasses to trap evenly under the cloche’s dome once it hits the oven.
If the loaf feels gummy inside when sliced, bake covered longer to set crumb. Conversely, if crust cracks or buckles, back off on initial hydration or scale back fermentation time by 45 minutes next bake.
When to Vent or Remove the Dome
Once your loaf springs and sets, venting or removing the cloche unlocks crust improvement. Aim for 15–20 minutes covered, then finish 8–12 minutes uncovered at the same or slightly reduced temperature for best results.
Opening the dome fully introduces a final rush of dry heat, crisping the surface evenly. If your oven tends to run cool, extend uncovered time by a couple of minutes; for hot ovens, watch closely for color cues instead.
Use the bread cloche like a seasoned chef would a Dutch oven lid—lift with confidence when you see expansion plateau, then finish to your liking, adjusting as you gather experience from each loaf.
Expanding Your Wild Fermentation Repertoire with the Bread Cloche
The bread cloche isn’t just for basic boules—it gives new energy to all wild fermentation loaves. Experiment with flours, inclusions, and shapes once you’re confident with the classic round.
Focaccia, rye, and filled doughs thrive in the cloche’s microclimate. Swap batards or bâtards in and consider added seeds or fruit for new signature sourdoughs.
Wild Fermentation Batard and Fruit-Nut Variations
Bake a batard by shaping your proofed dough into an oval and letting it ferment on a parchment-lined tray. Size the cloche with a slightly longer base for support.
For fruit and nut inclusions, gently fold chopped dried figs or walnuts into your dough during the last coil fold of bulk fermentation. Rolling the shaped loaf in seeds before baking brings even more aroma from the steamy cloche environment.
Finish loaves with decorative scores reflecting the filling—zigzags for nuts, simple leaf patterns for fruit. Keep notes about bake time, cloche removal stages, and crumb texture so you can quickly repeat your favorite twists.
Seedy Crust and Whole Wheat Sourdoughs
Scatter sesame, poppy, or sunflower seeds onto your bread cloche just before baking. The heat fuses them to the bottom and top crusts, sparking crunch and aroma every slice.
Whole wheat sourdoughs appreciate the steam boost—cloches temper the tendency toward dry, dense crumb. Bake with 75% or more whole flours, keeping hydration high and monitoring dome removal closely so the crust doesn’t toughen.
Try finishing with a quick spritz of water on the surface before applying the dome. Encourage steam to cling to bran for a shiny appearance, even on high-fiber sourdoughs with naturally drier texture.
Lasting Value: Why a Bread Cloche Becomes Essential for Home Bakers
The bread cloche proves its worth from the first golden loaf to the hundredth experiment. It standardizes wild fermentation bakes and lets bakers dial in artisan textures, flavors, and crusts without industrial equipment.
Layer by layer, using a bread cloche transforms the practice and results of wild fermentation. Each bake becomes another chance to explore flavor, form, and perfect crust—all with simple, time-tested rituals.
Embrace the cloche as more than a tool; treat it as a trusted partner on your sourdough journey. Every wild fermentation experiment builds skill, confidence, and a taste memory you’ll return to again and again.
Frequently Asked Questions
How does a bread cloche affect sourdough oven spring from wild fermentation? The bread cloche traps steam, delaying crust formation and maximizing oven spring. This results in taller, lighter sourdough loaves that showcase the unique power of wild fermentation.
Can I bake high-hydration wild fermentation doughs in a bread cloche without sticking? Yes. Dust the bottom with rice flour or use parchment paper to prevent sticking, especially for wet wild fermentation doughs above 75% hydration.
Do I need to preheat my bread cloche for wild fermentation sourdough? Absolutely. Always preheat both oven and cloche for 45 minutes at baking temperature. This creates ideal, even conditions for full oven spring and crust development in your wild sourdough.
How do I clean a ceramic or clay bread cloche after baking sourdough? Clean with a stiff brush or a wooden spatula after cooling. Avoid soap or soaking; just wipe away crumbs and let air dry completely before storing for your next wild fermentation bake.
Will using a bread cloche improve the sour flavor from wild fermentation? The cloche magnifies both steam and wild fermentation’s complex flavors. Longer ferments and the enclosed dome intensify tang and crust color, offering a sharper, deeper sour taste in your finished loaf.